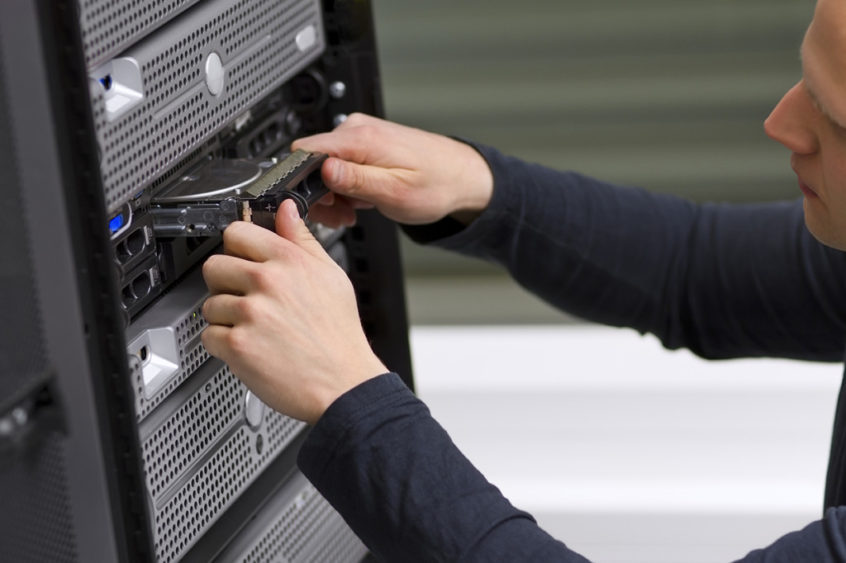
Looking to replace your hard drive but don’t know how? Read this blog.
It’s time to replace your hard drive. Maybe you’ve experienced hard drive failure, or maybe you just want to increase your hard drive storage capacity. Either way, you need a new one. The only problem is, you don’t know how to do it or where to begin. Don’t worry; that’s where we at ProStorage come in. Below we’ve outlined a thorough step by step process in order to make the task as easy as possible.
Step One: Safety Precautions and Opening the System
To get started, if you have a Dell, go to the Dell online support center and type in your service tag into the suggested link. Doing so will take you to a page that highlights some important safety information, as well as the steps you’ll need to take to get your system to the proper starting position (like unplugging your external connectors).
From there, you can begin to dissect your system. With your system lying flat (in the “how to” video below the system is on its side for display purposes) you’ll press the buttons on either side of the system casing, which will prompt your system to scissor open.
Step Two: Identifying Where Things Are
Once you get the system open you’ll see a bunch of different components and colors – there is a video card, memory slots, power supply, and a wiring harness to name a few – don’t let this overwhelm you. It’s not as complicated as it looks.
What you’ll want to take note of are the color tags for the optical drive. These tags help paint a clear picture of what goes where. For your convenience, the hard drive will also have a color tag. To identify what kind of hard drive you have, go back the the same website referenced above. The manual will tell you whether you have an IDE or a SATA hard drive.
Step Three: Changing Your Hard Drive Cable
When changing your hard drive cable – it got pinched, or it has been determined that the cable is the issue and not the drive – simply pull the tab through the guides (not a lot of force will be needed, as the tab is designed to come out easily). At the other end of the cable there will be another clip holding the cable in place. Simply unhook the clips and pull. Your hard drive cable will then be disconnected.
Step Four: Taking out the Hard Drive
After setting the cable aside, you’ll be able to clearly see your hard drive – which will have a power connector plugged into it. Remove the power connecter by firmly grasping the power connector key and pulling. Once you have the power connector removed it’s time to take out the hard drive. Doing so doesn’t require any tools, simply pinch the guide rails together and slide the hard drive out.
Step Five: Putting in the new Hard Drive
For this step you will need tools. Specifically, a screw driver (a standard Phillips-Head will work just fine). You’ll use the screwdriver to remove the guide rails, which you will attach to the new hard drive. This way you’ll be able to easily remove the new hard drive should something happen, or replace it when it finally gives out on you. Once you have the guide rails on the new hard drive slide it back into the same slot you removed it from and reconnect the power cable.
Step Six: Putting Your System Back Together
Now that you have your new hard drive in place, all that’s left to do is to put your system back together. Reconnect the hard drive cable – you’ll have a double connector at one end, this side always connects to the hard drive – and run it back through the guides and connect to the other side. From there you’ll simply close the system, reconnect the cables and power the system on.
Continue to browse our website for more information on internal and external hard drives, or leave us a comment below! We’ll be happy to answer any questions you may have.
