Use this guide to begin your data archiving journey.
Many businesses and individuals hold onto a lot of data, especially after years of business. In some industries, it’s vital that this information is organized and stored for later retrieval. The process of storing and organizing this data is called data archiving.
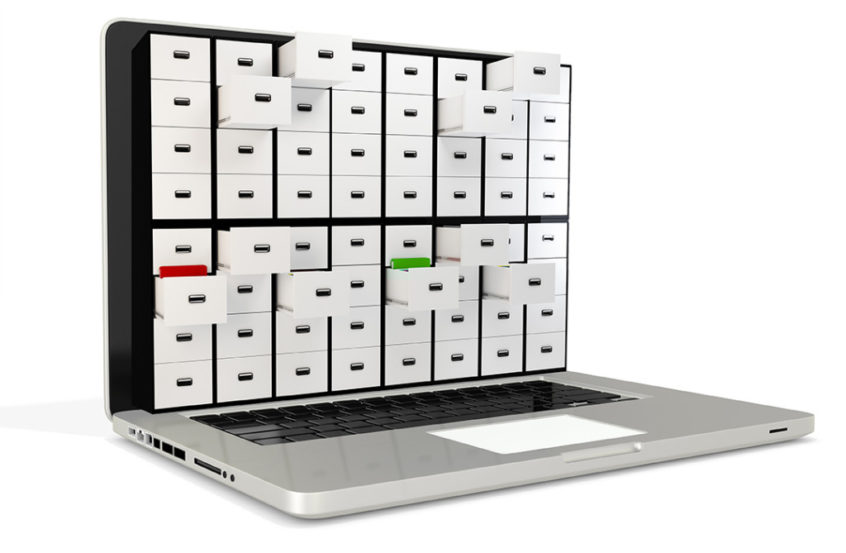
Data Archiving Defined
A data archive is simply a collection of data or information that is stored in an organized manner. This information can be quickly accessed for later retrieval or compliance requests. In the tech world, an archive is different than a backup. Backups are more focused on speed. This is information that can quickly be retrieved to be edited or updated. Archives, on the other hand, are filled with data that are no longer being updated or revised. These are static documents kept on hand for documentation and record keeping.
Benefits – Why Archive Data?
Data archiving is primarily used to eliminate the need for large backups. While it’s wise to backup data you use regularly, data that hasn’t been used in forever can be moved into the archive and stored. Additionally, storage costs for archiving data is typically less expensive than primary storage because it’s focused on large capacity, not speed.
The main benefit of archiving data is the ability to remain organized. Whether you’re a self-employed professional, a major executive for a large corporation, or simply trying to keep track of your family history, archiving your data will ensure that you keep photos, documents and other media safe for the long haul while still being able to easily find and access them for later use.
Online vs. Offline Data Archiving
When starting your own data archiving system, you’ll need to decide what kind of storage you’d like to use. There are several different options for both online and offline data storage. Let’s review a few of them.
Mobile Media
Many people choose to store their data on mobile media devices such as USBs, external hard drives, tapes, CDs, DVDs and the like. There are benefits and drawbacks to each but the main thing you need to realize is that data archiving via mobile media gives you the ability to take those documents wherever you go. For instance, if you’re a photographer and you’re meeting with a client for the first time, you may want to take your external hard drive with you. If you’ve consistently archived your photos and stored them on that drive, you’ll be able to quickly access and show off your work to potential clients. They’ll also be happy to see that you are so organized, giving you more credibility and authority in your field.
Cloud Storage
Another popular choice for data archiving is cloud storage. Cloud storage is the act of storing your data within an interface that is hosted and managed by another company. One simple example of cloud storage that many people use on a daily basis is Google Drive. This tool is synched with your Gmail account so if you have that, you have access to Google Drive as well. This tool enables users to efficiently store, add, share and edit documents, spreadsheets, photos, pdfs, etc. and for the everyday person, this is enough storage. Google Drive also has apps for Android and iOS so files can also be managed from mobile devices. Professionals may want to look into other more hefty cloud storage providers such as Carbonite. Carbonite is a cloud storage provider that offers unlimited cloud storage and a variety of different plans for both businesses and individuals. Services like this often have a monthly or yearly fee, but if you need secure cloud storage, the fee is worth protecting your data.
Getting Organized
Once you’ve determined what kind of data archiving storage system you prefer, it’s time to get organized and come up with a file naming system. It’s one thing to dump all your data into a folder on Dropbox or your external hard drive, and it’s another thing entirely to clearly depict and separate that data into logical chunks.
For instance, let’s say you have 2,000 photos on your computer that you want to archive with cloud storage. Before you dump them all onto the cloud, create individual folders with a clearly defined format. Create individual folders labeled “2016 PHOTOS” and inside that folder, break your data down even further into separate folders such as “FAMILY REUNION” or “GRADUATION.”
There’s no wrong way to use a file naming system – just use one that works best for you! If you need suggestions or help getting started with your data archiving, browse our blog for more information.