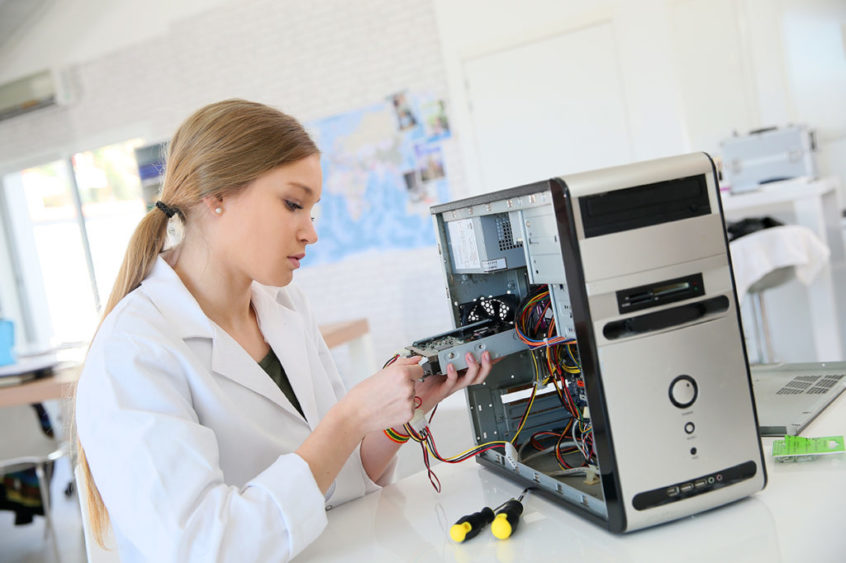
Need extra computer storage space? Try installing the WD Caviar Green 3TB Hard Drive.
Hard drives are a great way to add storage space to your computer. A WD Caviar Green 3TB hard drive, on the other hand, is a REALLY great way to add storage space to your computer. However, there are certain things that this hard drive will require during the installation process that others do not. Here we’ll detail what those things are, as well as discuss how to install this particular data storage device.
Things to Have
- External Hard Drive (for backing up current files)
- Phillips screwdriver
- SATA Cable (which should be in your computer already)
- WD Caviar Green 3TB Hard Drive (with HBA card)
It’s highly recommended that the bundled HBA is used to achieve the full capacity of the drive. In addition to that, it’s also a good idea to have the original disks for your operating system, as well as all of your software.
Preparation
Before doing anything with the WD Caviar Green 3TB Hard Drive, it is recommended that you backup the pre-existing files on your computer to protect your data. Do so by saving the data to an external drive, such as a MyBook or MyPassport.
After you’ve saved your files, unpack the drive and place in on the package it came in. When handling the drive, only touch the sides, and avoid coming into contact with the circuit board components. Additionally, do not remove the tape seal or any labels, as this will void the warranty.
Installation of the Hard Drive
Once the cover to your computer is removed, you’ll want to identify the drive slots and make sure your computer has a PCI Express slot. After you do so, the first thing to install is the HBA. Start by removing the bracket cover, which will come with an attached small bracket for installation. However, each system is different, and in some cases you may need to use the larger bracket (which comes in the package). Determine which bracket you need, and gently insert it into the PCI Express slot and secure the bracket to the system chassis.
Next, inspect the drive bay to make sure it’s clear of loose cables or obstructions. Then remove the empty mounting sled, attach the new hard drive, and return the sled back into its original slot. After doing so, attach the existing system power cable to the drive. Next, attach the SATA cable to the back of the hard drive, and then to the connector on the HBA which you installed in the previous step.
From here, all that’s left is to close your system cover and boot it up. After you do so there are a few simple formatting things you’ll want to do to get your hard drive up to speed – all of which can be referenced in the video below.
Fore more information on installing a WD Caviar Green 3TB Hard Drive, continue to browse our website. For hard drive storage solutions, visit the Get ProStorage website. This product will change the way you view hard drive storage!
